I just started learning Vue.js and I admit, even after watching tutorials online on what Vue is and how it works, I still couldn't wrap my head around how I could use it in my current side project.
 So, I looked around for beginner-friendly projects that I could experiment with, that would help me get in that Vue-groove. I found Tyler Potts ToDo List App on GitHub and I cannot recommend it enough. It barely takes about 30 minutes to set up and is a huge confidence booster for anybody who's starting to learn Vue.js or just JavaScript in general.
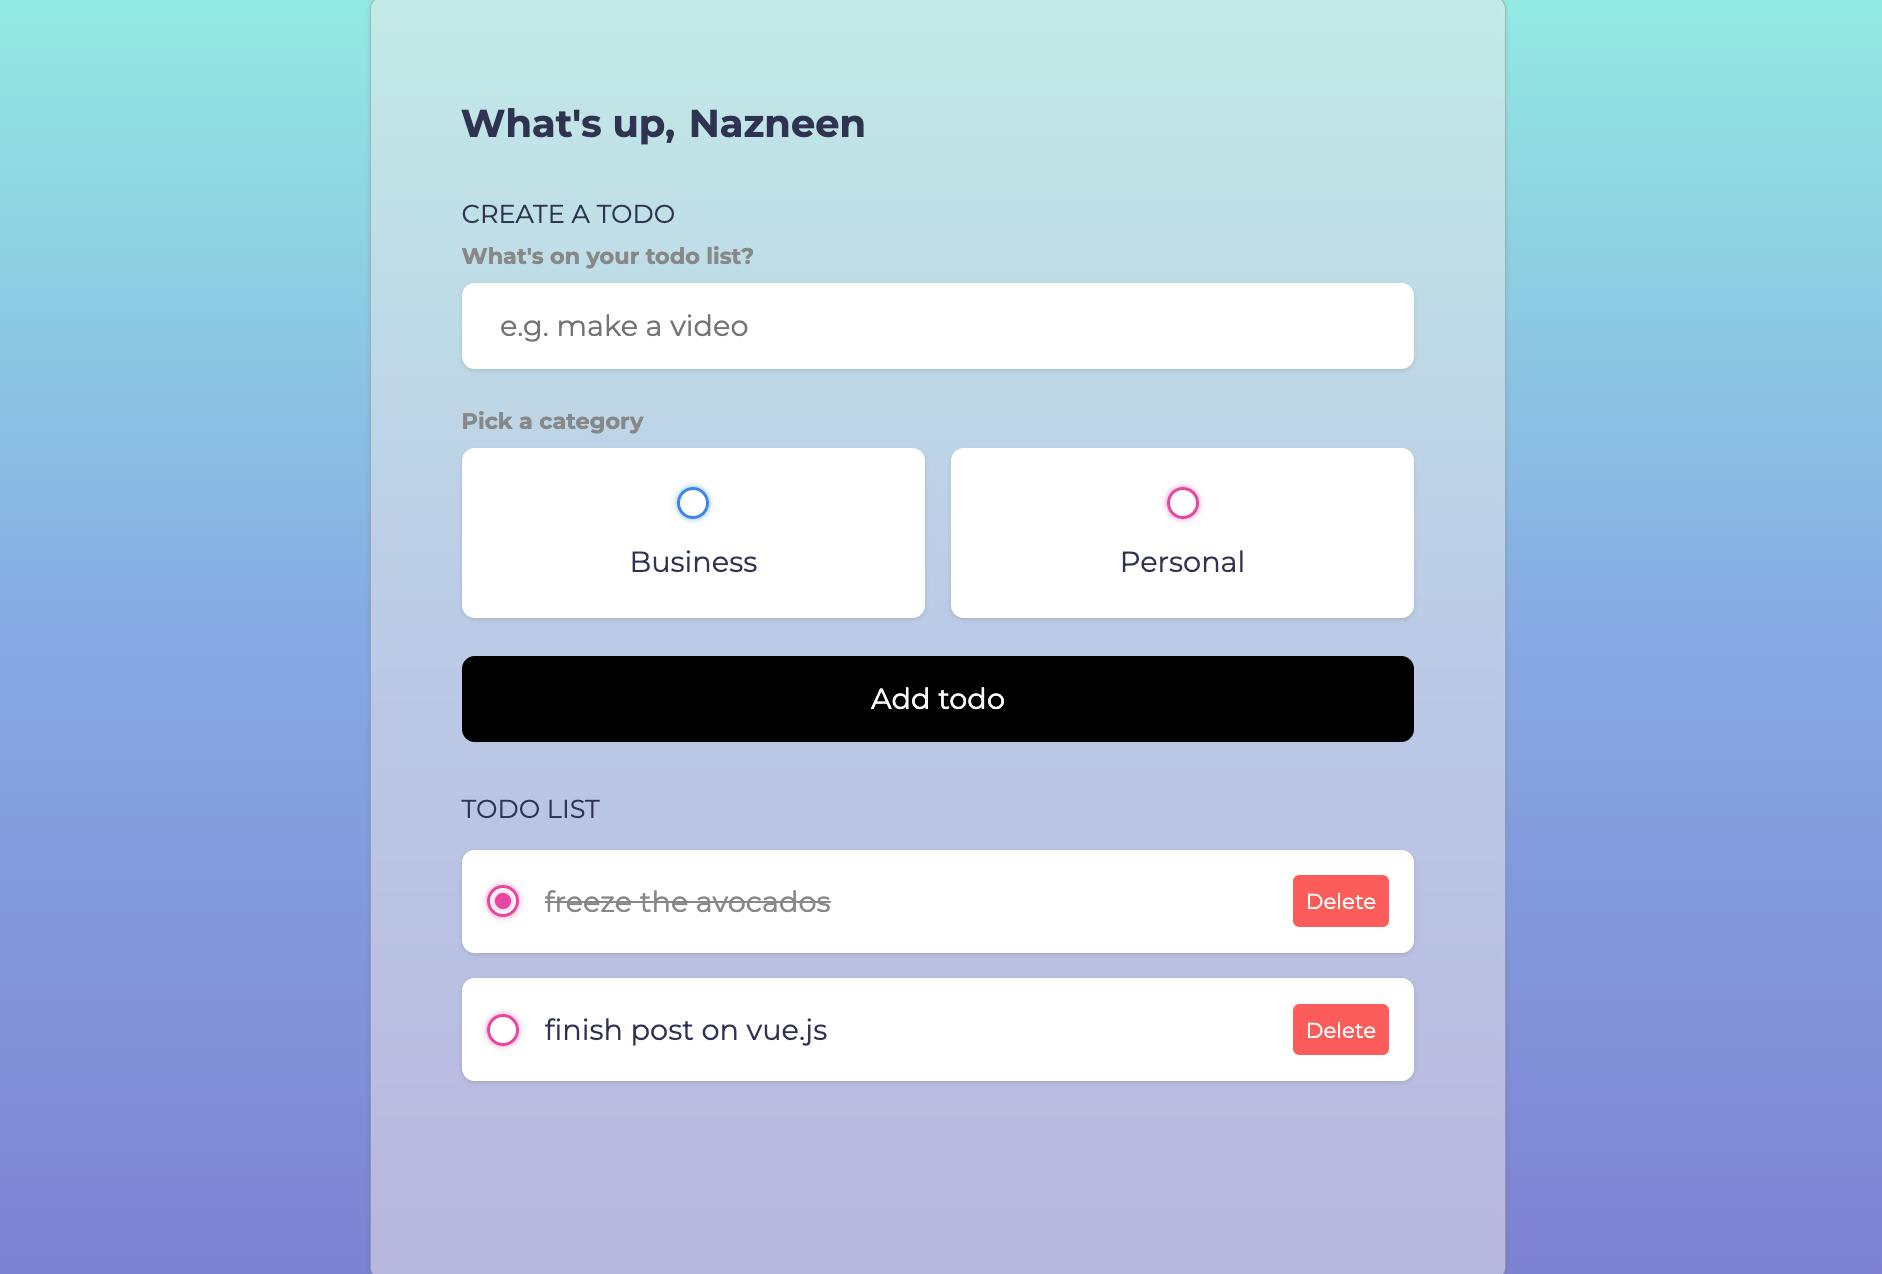
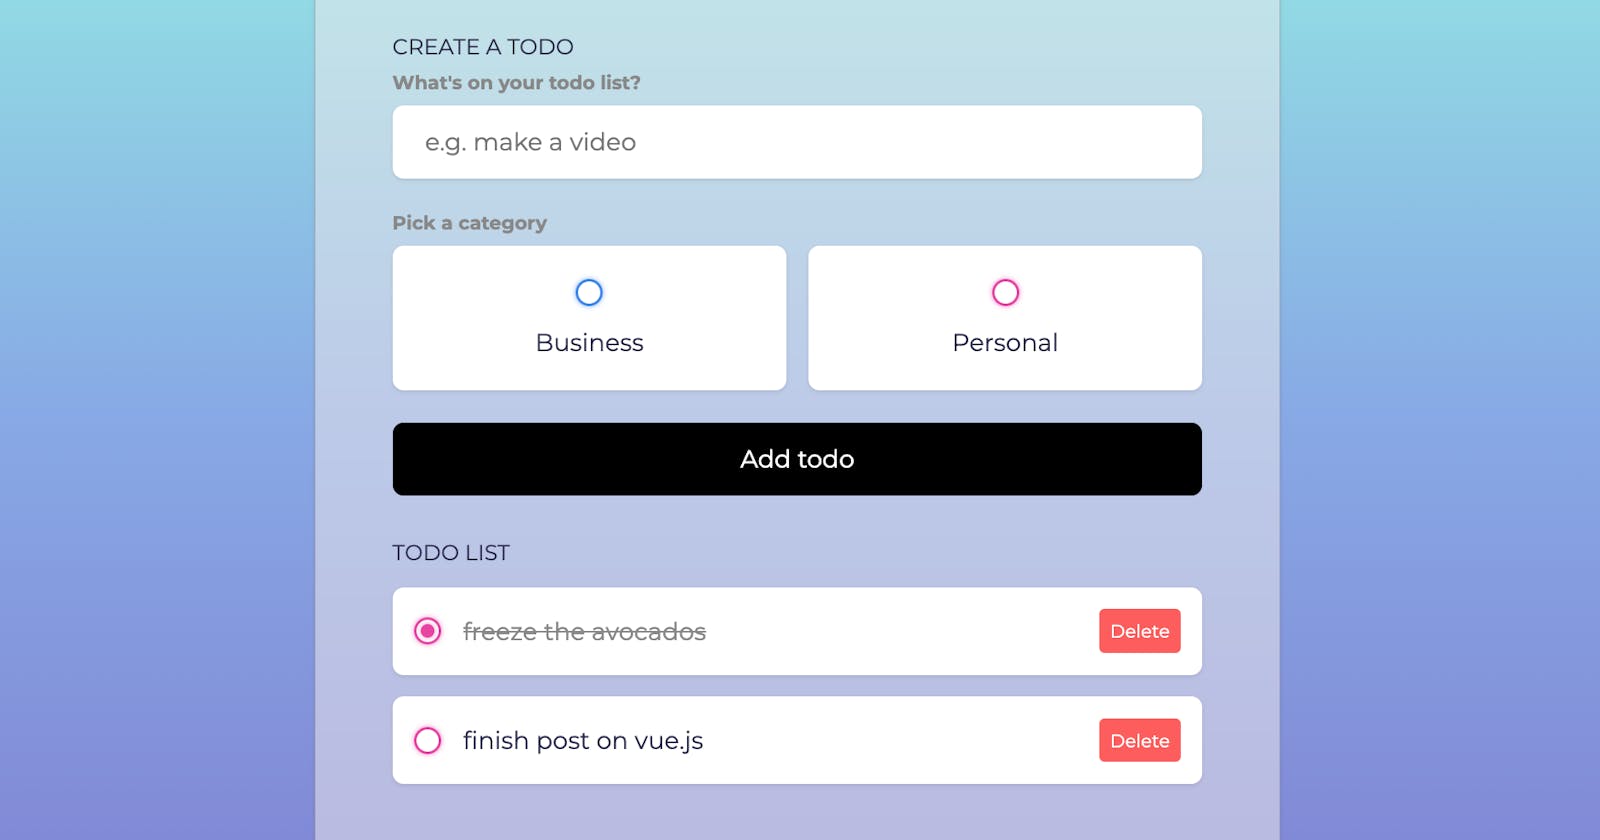
In this post, I share my understanding of the logic behind this simple write - update - delete from a list app. The HTML/CSS is rather straightforward and can be found on my GitHub repo. Do check it out.
 Sooooo, let's get started!
<script setup>
import { ref, onMounted, computed, watch } from "vue";
- ref is reference and that's how we'll handle our state
- onMounted is a Vue lifecycle hook (no, not like react hook) that runs when the app is rendered. We'll use it to access our browser's localStorage.
- computed properties are dynamic, in the sense, that their values are updated throughout the lifecycle of the app.
- watch lets us watch for changes to the reference, aka state.
const todos = ref([]);
const name = ref("");

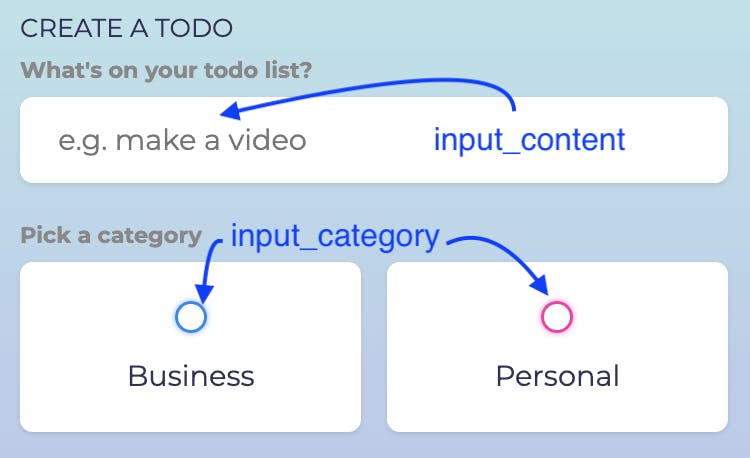
const input_content = ref("");
const input_category = ref(null);

Lets take my example of trying to add a todo of "freeze avocados" in my todo-list. input_content will be "freeze avocados!" then and input_category will be "personal" in this case (unless I work in a restaurant and its work related :) )
const addTodo = () => {
  if (input_content.value.trim() === "" || input_category.value === null) {
    return;
  }
Now that I've added 'Freeze avocados!' to my list and hit enter, the addToDo() function is triggered, which in turn will create the new todo for me.
First, we do the mandatory check to see if the user has entered anything at all. If not, we do nothing.
todos.value.push({
    content: input_content.value,
    category: input_category.value,
    done: false,
    createdAt: new Date().getTime(),
  });
If the user has indeed entered some text, in my case, "Freeze avocados!" (jeez, I keep repeating myself) then, the function pushes my text as an object into the todos array with other metadata such as, is the task done or not, when was it created (useful to sort them in order of creation, we'll discuss that further on in the post), etc.
input_content.value = "";
  input_category.value = null;
};
We want the input field for the todo to become empty after the new todo has been successfully saved by our app, so that if the user, i.e., I , want to add a new todo, I can do so easily.
const todos_asc = computed(() =>
  todos.value.sort((a, b) => {
    return b.createdAt - a.createdAt;
  })
);
We want to display our todos, with the newest ones created at the top. To do so, we use the createdAt property of our todos and sort them in the order they were created, backwards (in descending order, makes sense?)
watch(name, (newVal) => {
  localStorage.setItem("name", newVal);
});

watch(
  todos,
  (newVal) => {
    localStorage.setItem("todos", JSON.stringify(newVal));
  },
  {
    deep: true,
  }
);
We also want to watch out for changes to the user's name or changes to the todo itself. For example, if I decide that freezing the avocados is REALLY important to me and I now want to change my todo to look like so: "FREEZE AVOCADOS!!!", my app needs to watch out for and save these changes made to my list.
The deep : true implies that the app should look through all todos in my list and if any of them change, to save that change.
onMounted(() => {
  name.value = localStorage.getItem("name") || "";
  todos.value = JSON.parse(localStorage.getItem("todos")) || [];
});
</script>
This method runs everytime my app loads, in user terms, every time I refresh my page, onMounted will run and 'get' my name and todos from the localStorage and display them for me. Yay!

And that is everything you need to power a simple todo list app :) If you're like me and struggling with a new framework (i.e. watched a lot of stuff on YouTube but still confused how to implement that in a real project), do try implementing this app!
